Buyer Guide
Sealing Natural Stone: What to Do, What Not to Do
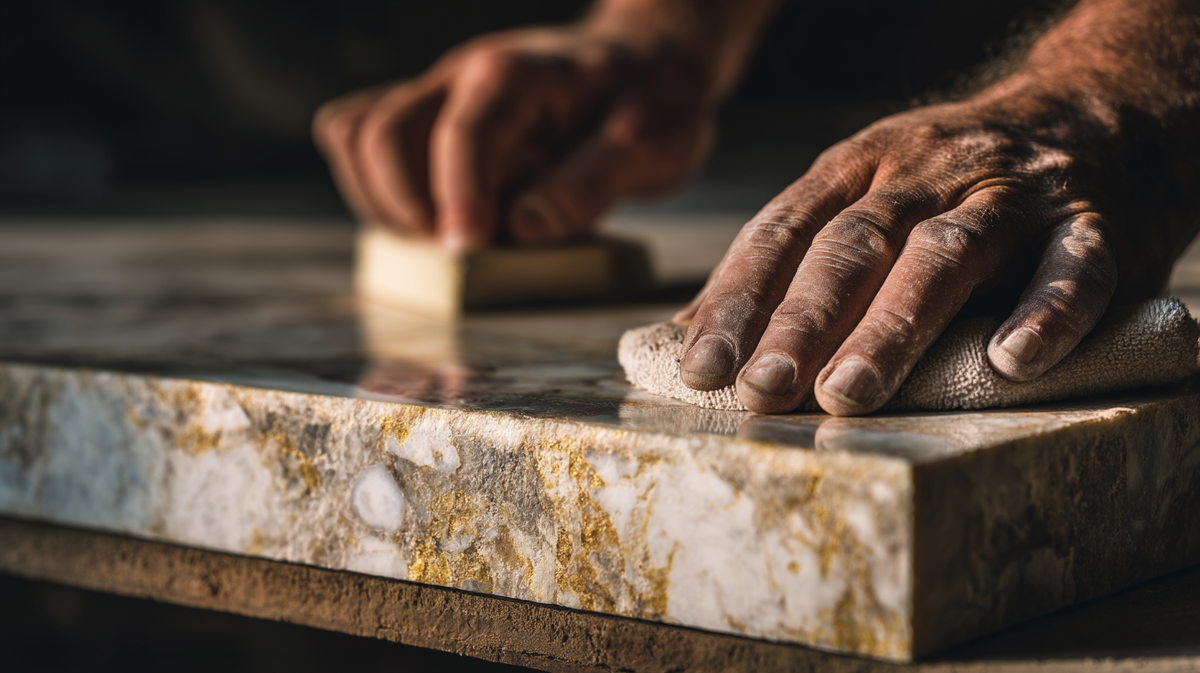
Sealing natural stone is one of the residential maintenance tasks that's simultaneously underdone and done badly. Underdone: most homeowners never seal stone after the initial install, and the install seal often wears out within 3 years. Done badly: when the resealing happens, the wrong product, the wrong technique, or the wrong frequency produces results worse than no sealing at all.
This guide walks through what stone sealing actually does, the right products and techniques for each stone family, the schedule that keeps the sealer working, and the common mistakes that shorten stone life rather than extending it.
What a Sealer Actually Does
Stone sealers do exactly two things: they reduce stone porosity (reducing how much liquid can penetrate the stone) and they create a sacrificial layer that takes some chemical exposure before the stone itself does. The good ones do both well; the bad ones do neither.
What sealers don't do, and where most misunderstanding lives:
- Sealers don't prevent etching. Acidic spills (lemon, vinegar, wine, tomato) react chemically with calcium carbonate stones (marble, limestone, travertine). The sealer slows the reaction slightly but doesn't prevent it. Etching is a permanent surface change that no consumer sealer prevents.
- Sealers don't make stone "waterproof." They reduce porosity, but stone with sealer still absorbs water, just more slowly. Standing water on sealed marble for hours still produces darkening.
- Sealers don't last forever. Most penetrating sealers have effective lives of 2 to 5 years depending on stone, traffic, and cleaning chemistry.
- Sealers don't repair existing damage. Sealing scratched or etched stone preserves the damaged surface; it doesn't restore the stone.
Two Categories of Sealer
The sealer market is divided into two functional categories, and getting them confused is one of the most common mistakes.
Penetrating (impregnating) sealers soak into the stone's pore structure and reduce its absorption from the inside. The stone surface still looks and feels like stone, no visible change to the finish. The sealer is invisible. This is the right product for most residential stone, including marble, granite, quartzite, limestone, travertine, and most porous natural stone. Penetrating sealer is what we mean when we say "seal the stone."
Topical sealers (also called "enhancing sealers" or "color-enhancing sealers") sit on top of the stone, often providing a slight gloss and color enhancement. They wear visibly under traffic and have to be stripped and reapplied periodically. They're appropriate for slate, certain limestones, and some sandstones where the color enhancement is the design intent, but not for most kitchen and bath applications. Used on marble or polished granite, they create a fragile film that scratches and peels visibly.
For most residential stone, the right answer is a quality penetrating sealer. The categories of penetrating sealer worth specifying:
- Solvent-based silane/siloxane (the long-life standard for kitchen and high-use surfaces)
- Water-based silicone-based (lower VOC, suitable for indoor application, slightly shorter life)
- Fluorocarbon-based (the highest-performance category, longest life, most expensive)
The Sealing Schedule by Stone Family
Marble
Seal at install. Reseal every 1 to 3 years depending on use. Heavy-use marble counters might want annual sealing; bathroom floor marble might go 3 years. Browse the marble slab collection or marble tile collection and see our marble tile guide.
Granite
Seal at install. Reseal every 3 to 5 years; some dense granites essentially need no resealing. The water-bead test (water beading on the surface vs spreading) confirms whether sealer is still working. Browse granite slabs.
Quartzite
Seal at install. Reseal every 2 to 3 years. Lower porosity than marble; longer interval than marble but shorter than granite. See our quartzite care guide and the quartzite slab collection.
Travertine
Seal at install. Reseal every 1 to 2 years. Higher porosity than marble; the voids in travertine want particular attention. The travertine slab collection and our travertine comeback guide.
Limestone
Seal at install. Reseal every 2 to 3 years. Behavior similar to travertine but slightly less porous in dense varieties.
Slate
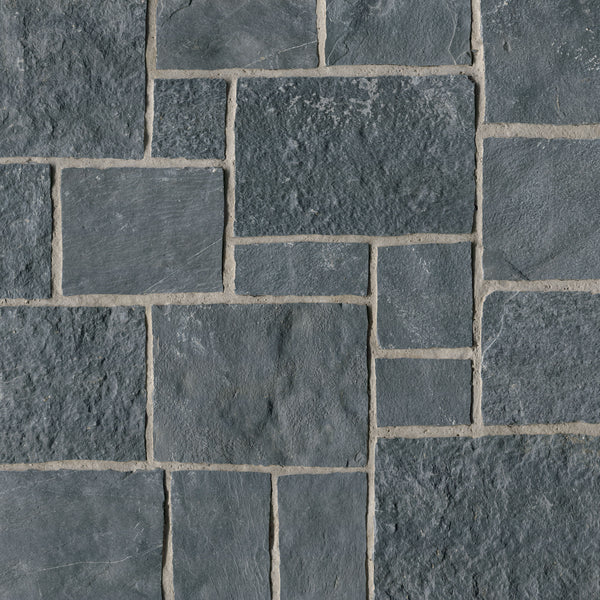
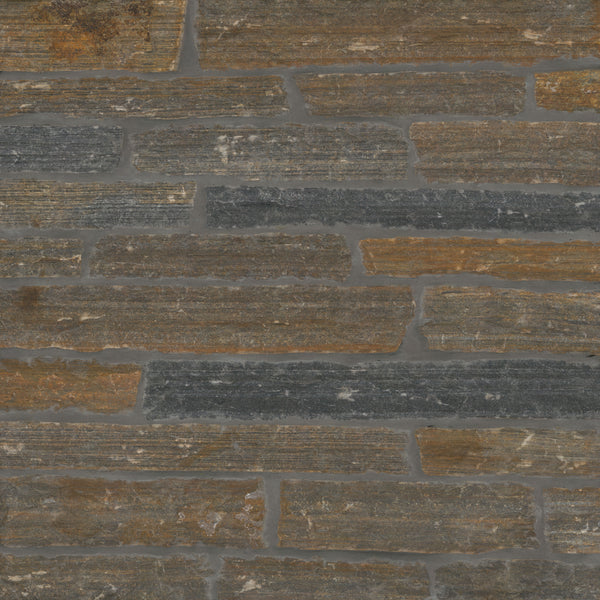
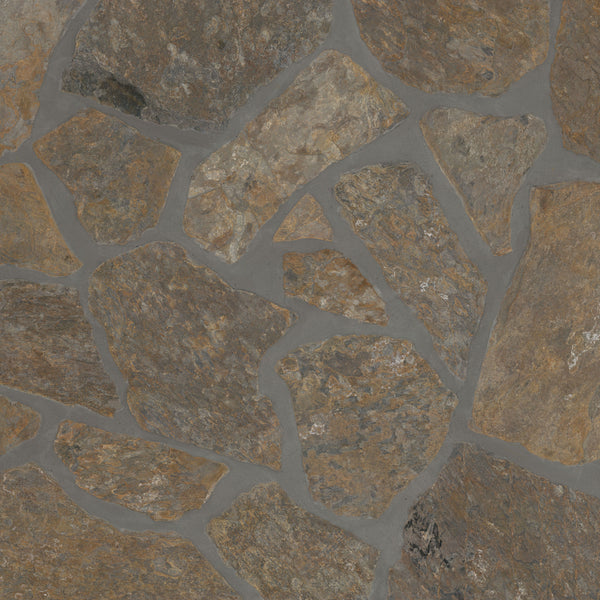
Seal at install if you want enhanced color, or skip sealing entirely for a more natural read. Slate is one of the few stones that performs well unsealed, the surface is essentially impervious. See our slate guide.
Sandstone
Seal at install. Reseal annually. Sandstone is the most porous of the residential paver stones; aggressive sealing is required, particularly for outdoor use.
Soapstone
Soapstone doesn't seal. It oils. Mineral oil applied periodically deepens the patina and seals naturally. See our soapstone comeback for the soapstone-specific care.
The Application Technique
Sealing technique matters as much as product choice. The professional process:
- Clean the stone thoroughly with pH-neutral stone cleaner. Any residue from prior cleaners or contamination prevents proper sealer penetration.
- Allow stone to dry completely. Penetrating sealer doesn't work on damp stone.
- Apply the sealer per manufacturer specification, typically with a soft cloth or microfiber pad, working in small sections.
- Let the sealer dwell on the surface for the manufacturer-specified time (typically 5 to 15 minutes), keeping the surface wet by adding more sealer if it absorbs.
- Buff off all excess sealer with a clean dry cloth. Penetrating sealer that dries on the surface (not absorbed into the stone) can leave visible streaks or haze.
- Allow full cure time (typically 24 to 72 hours) before water exposure or normal use.
Cutting any of these steps short produces sub-optimal sealing. The stone may look fine immediately and develop staining within months because the sealer didn't penetrate properly.
The Water-Bead Test
The simplest field test for sealer effectiveness: drop water on the surface and observe.
If the water beads up tightly and stays on the surface, the sealer is working.
If the water spreads slightly but doesn't darken the stone for several minutes, the sealer is partially worn, schedule resealing in the next year.
If the water immediately darkens the stone (the stone reads visibly wet), the sealer is gone. Reseal soon.
Run this test annually on heavily-used stone surfaces. The 30-second test prevents the larger problems of staining, deep absorption, and stain-resistant damage.
Daily Cleaning
The cleaner you use on sealed stone affects how long the sealer lasts. The right cleaning chemistry:
- pH-neutral stone cleaners, the only cleaner you should use on sealed natural stone in regular maintenance. Brand-specific stone cleaners (Stone Care International, Black Diamond, others) are formulated for this.
- Mild dish soap and warm water, acceptable for occasional cleaning if pH-neutral stone cleaner isn't available.
- Microfiber cloths, non-abrasive, won't scratch sealed surfaces.
What to avoid:
- Acidic cleaners (vinegar, lemon-based cleaners), strip sealer rapidly and etch carbonate stones.
- Bleach-based cleaners, strip sealer and can affect stone color over time.
- Abrasive cleaners (Comet, Bar Keepers Friend, scouring powder), physically damage the sealer film and stone surface.
- Ammonia-based cleaners, strip sealer.
- Generic "all-purpose" cleaners, most contain chemistry that's wrong for natural stone.
The Common Mistakes
Skipping sealing at install. Many homeowners don't realize the install crew didn't seal, or assume the factory polish is permanent. Verify with the installer; if not done, schedule sealing within the first month.
Treating sealer as etching prevention. Etches happen on sealed stone. The sealer prevents staining, not etching. Acidic spills want fast cleanup regardless of sealing status.
Using the wrong sealer. Topical sealers on polished marble produce a fragile film. Color-enhancing sealers on Carrara fundamentally change the stone's color in ways homeowners often regret.
Waiting too long between sealings. Most resealing happens because staining occurred. The right schedule prevents the problem rather than responding to it.
Sealing before stone has cured. Newly installed stone may have residual moisture or grout. Wait the manufacturer-recommended period (typically 7 to 14 days) before sealing.
Sealing dirty stone. Sealer locks in any dirt, residue, or contamination present at the time of sealing. Clean thoroughly first.
When to Call a Professional
Stone sealing is well within DIY range for most homeowners. Professional sealing is worth the cost for:
- Large floor installations (over 500 square feet)
- Stone with significant visible damage that needs honing or repair before sealing
- Polished marble or polished slabs where streak-free application is critical
- Heavy-traffic commercial-residential applications
Where to Start
For most residential stone, sealing is straightforward DIY work. Buy a quality penetrating sealer (silane/siloxane or fluorocarbon-based), follow the application instructions carefully, and run the water-bead test annually. The stone will reward the small effort with decades of clean appearance. For specific stone questions, see our quartzite care guide, marble tile guide, and travertine guide. Browse the slabs collection and natural stone tiles for the materials.
From the guide
Shop the stone in this guide